Creating and Editing Scrapbook Items
Creating
and Editing Scrapbook Items
Scrapbook Items - Introduction
Editing Scrapbook Information – Linking to Other People
Link General Document: Linking a General Document into a
Scrapbook
Publishing Mixed Text and Picture Documents as Web Pages
Scrapbook entries enliven your records, changing them from boring collections of names and dates to interesting records describing the lives of the people in your tree. It is very simple to upload pictures and other documents from your computer. You can create scrapbook links to documents that have been uploaded earlier, and to web pages. A future development will allow you to link to records in FamNet databases also.
Scrapbook Items - Introduction
To add or edit scrapbook items you start editing a record: -
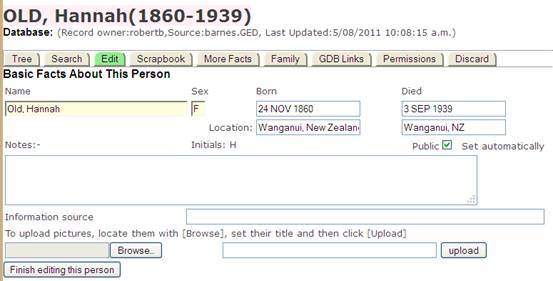
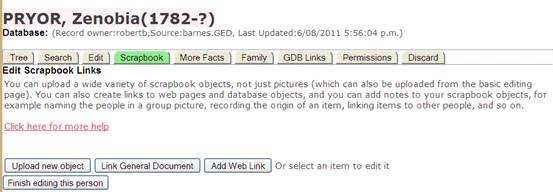
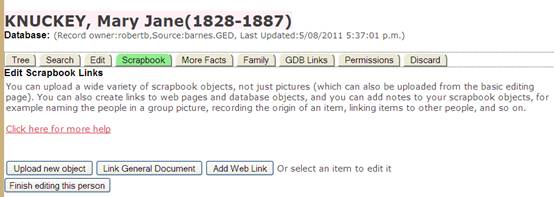
and then click [Scrapbook]. This is a typical example of the page you will see on first clicking [Scrapbook], before the first scrapbook item has been uploaded.
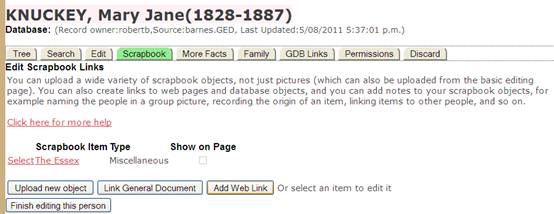
If there are already one or more scrapbook items, then there is a list of these: -

Click the scrapbook title to open the item: -
and click “Select” to edit the item: -
See notes below for more information on editing scrapbook items.
Uploading New Scrapbook Items
Click [Upload new object] to expose the upload controls that allow you to upload a new object from your computer: -
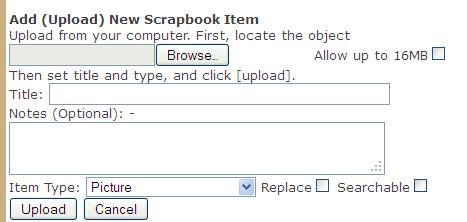
To upload an item, first locate it on your computer. You can do this either by entering its complete path (e.g., type something like “C:\Documents and Settings\Robertb\My Documents\FamilyDocs\FamilyPhotos\9.bmp”), or by clicking the [Browse] button and finding the item on your computer.
Normally documents, pictures, etc. are limited to 2MB, and if you attempt to upload an object that is too large you will get an error message. You can upload larger documents by checking “Allow up to 16MB”. This will allow an object of up to 16MB to be loaded, which is enough for several minutes of audio or a brief video.
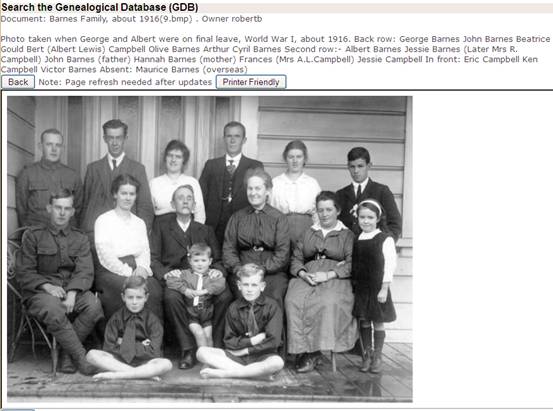
Next, give the item a title such as “Barnes Family, about 1916”. If you do not give a title then the system will use the object name (“9.bmp” in the example above).
You may give some notes. For example, with a picture you may given information about when the photo was taken, where it is, who the people are, and so on.
Select the object type. The default is “Picture”, but check the list to see if another category is more applicable.
Check “Replace” if this object has already been uploaded and you want to upload it again because it has been updated.
Check “Searchable” if you want this object to be searchable by title in the “Documents” database. This allows items to be found without having to look up people in the GDB.
Finally, click [Upload]. The object is uploaded, it appears in the scrapbook list, and the scrapbook item is selected for editing.
Item Type and File Type
You select an item type from a FamNet list: options include “Picture”, “Family Document”, “Miscellaneous”, “Audio”, and so on. Here is a complete list.
The “Item Type” is a FamNet classification, but the actual file uploaded will have a file type recognized by the system. For example, Pictures will have type .jpg, .png, .bmp, etc., while a Family Document may have type ‘.doc’, ‘.pdf’, ‘htm’, ‘.jpg’ and so on. For many item types you have a choice about what kind of file to upload: for example, if a document exists on your computer as a Word document then you may upload it as such (format ‘.doc’), or convert it to a PDF document (format ‘.pdf’), or a web page (format .htm). Each of these choices has advantages and disadvantages compared to the other options. The section Publishing Documents – Choosing a Format below gives more information.
Shared Scrapbook Items
Scrapbook objects may apply to several people, so there are several features to make it easy to link one object to several people.
Uploading an object again
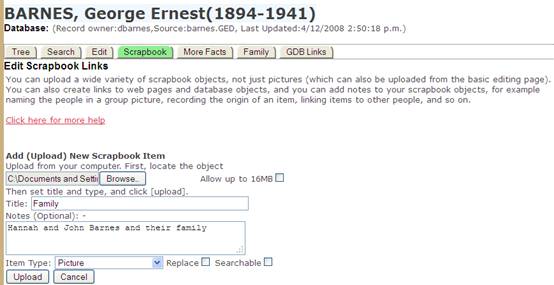
Firstly, when you upload an object the system will check to see if is has already been uploaded. Each object must have a unique name, so if you have already uploaded the object “9.bmp”, which is the object name of the picture above, then when you attempt to upload it again for the scrapbook of another person the system will detect that it is already present and then, instead of uploading another copy, it will create a scrapbook link to the previously-uploaded object. For example, here we are editing the record of George BARNES, and we attempt to upload the same picture to his scrapbook: -
Now, when we click [Upload], we see this: -
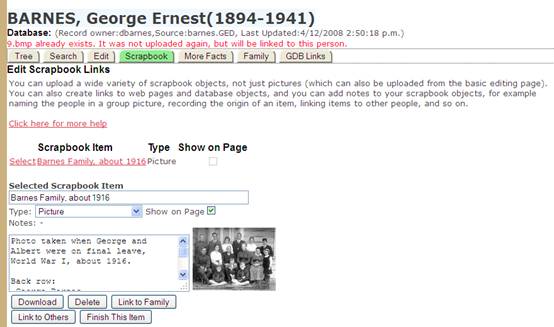
1. There is an error message telling us that the object was not uploaded again
2. It has been linked into the scrapbook for George BARNES, as if we had loaded it
3. The title and notes ARE THE SAME AS BEFORE. Instead of using the title and notes that we had entered when we tried to upload it a second time, the title and notes originally recorded are used.
If we had checked “Replace” then a new copy of the picture would be uploaded, and the title and notes would be updated. This would change the title and notes for all occurrences of this scrapbook object, so you would now see the updated title and notes in the scrapbook of Hannah OLD.
Editing Scrapbook Information – Linking to Other People
Once you have uploaded a scrapbook item you can link it to other people. See .
Editing Scrapbook Information
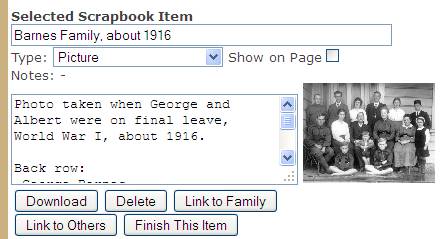
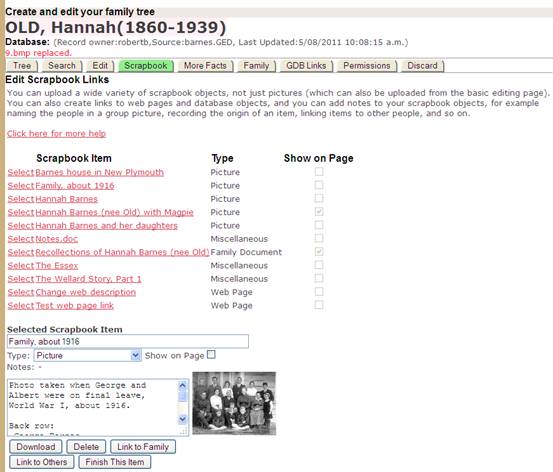
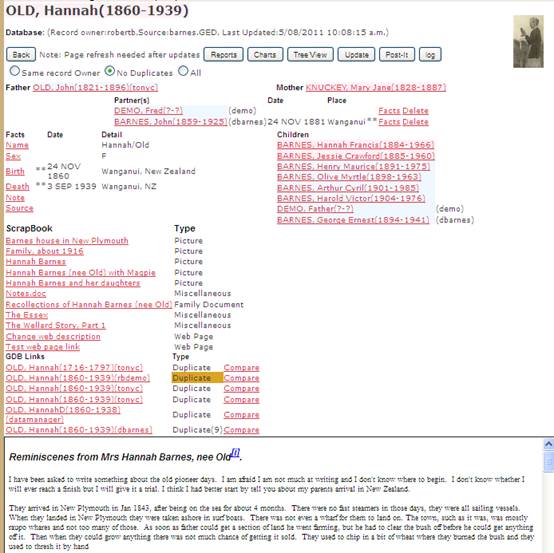
Once you have uploaded a scrapbook item you can update it, link it to other people, and you can set it to open automatically when the page is opened. You can do this immediately after you have loaded it, or you can come back later and click “Select” to select the object for updating. Here is the page displayed after we have uploaded the family photo 9.bmp to Hannah OLD’s scrapbook: -
Show on Page
A picture can be set to open as a thumbnail at the top right of the individual page and in the tree view, and one document can appear automatically at the bottom of the page. The first picture uploaded will be set to show automatically.
Here is the scrapbook list for Hannah OLD: -
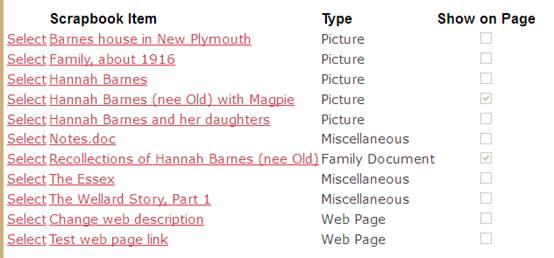
Here is the corresponding individual page: -
When you select a picture or document you can change the checkbox “Show on Page” to make this the thumbnail or featured document.
Download
Click [Download] and the system will email you a copy of the scrapbook object, provided that you are its owner. You can edit it with the software that you used to create it originally, and re-upload it. You cannot download other people’s scrapbook items, even if they have been attached to your own records.
Delete
Click this and the scrapbook link is deleted. The scrapbook item remains on the server (so that if you upload it again you’ll get the “… already exists …” message, as above), and it may remain in the scrapbook of other people.
Link to Family
You often want to link a scrapbook item to several people. For example a wedding photo would typically be linked to both bride and groom at least, and a family group will link to all the people in the photo. A document may refer to several people: even a document such as “My Father” might have mentions of other people and you might want to link it to them as well as its main subject. Two buttons are provided to make this easy, [Link to Family] and [Link to Others].
[Link to Family] displays a grid appears showing the subject’s parents, partners, children, and siblings (except for those already linked to this item), i.e. the people that most likely to appear in a picture with the subject: -

Clicking any of the names will link the scrapbook item to that record, and remove it from the list.
Link to Others
The [Link to Others] button opens a GDB search; you can enter your search criteria, and the search will return matching records: -
As with the family search, you can click any of these names to link the record and the scrapbook item.
The search defaults to your own records. While you can search other people’s records by changing the default, you cannot add scrapbook items to them unless you have been given update permission for that record.
Finish This Item
Click this and: -
1. If the checkbox “Show on Page”, or the item’s title or notes have been changed, then the database is updated. Remember that title and notes apply to all uses of this scrapbook item, not just when it is linked to the current person.
2. The “Selected Scrapbook Item” panel is closed and the scrapbook list and option buttons [Upload new object] etc are displayed.
General Documents
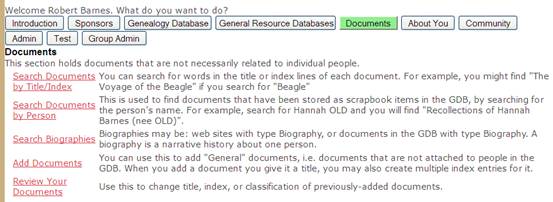
FamNet has a section “Documents” where items can be uploaded and searched without necessarily being related to people in the GDB: -
Of course sometimes these documents are also of interest in particular family trees, and you’d like to link them into a scrapbook. Conversely, when you are creating a scrapbook entry you might like the object to be available in the documents section of FamNet.
Link General Document: Linking a General Document into a Scrapbook
Example: in FamNet’s Documents section there is a document “The Essex” about the ship on which some of my ancestors immigrated to New Zealand. I want to attach this to the scrapbook of Mary Jane KNUCKEY, one of these ancestors.
1. Edit the scrapbook for Mary Jane KNUCKEY: -
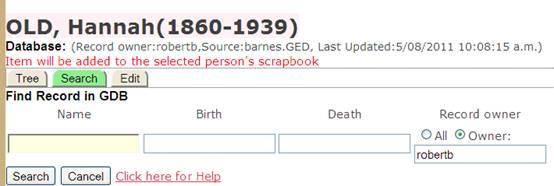
2. Click [Link General Document]. A panel appears to search the Documents database.

3. I enter “essex” and click [Search]: -

4. Clicking “Select” puts a link to this document into the scrapbook for Mary Jane KNUCKEY
Password-protected Documents
In the document list you may see that the password column contains “***”, like this: -
![]()
This means that the document has been stored with a read-password that hasn’t yet expired (You can store confidential documents with passwords set to expire some years in the future). In these cases users will need to give a password before the document can be opened.
Web Links
To link a record to a web page, click [Add Web Link]. This displays a panel like this: -
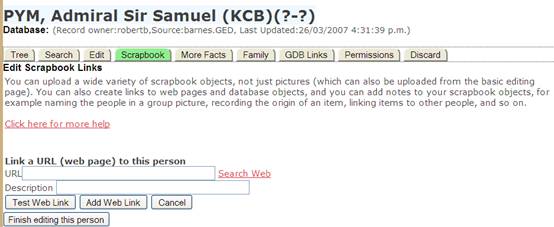
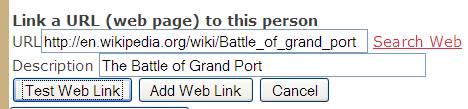
Simply enter the URL (starting with http://) and give it a title (=Description): -
If the description is omitted, the URL will be used as description.
Click [Add Web Link] and the web page is added into the person’s scrapbook.
[Test Web Link] will attempt to open the URL that you have entered. It is worth clicking this before you save the link, just in case you mis-typed the URL.
Search Web will open another browser tab in which Google will appear. Search for the page you want and Copy/Paste the URL back to the textbox above.
Publishing Documents
Click Here for more information about uploading (publishing) documents.