Uploading Data from a Spreadsheet
Adding individual records is simple, but unbearably slow if you have many records to add. If you have many records in a spreadsheet, for example a list of burials, then you will want something quicker that allows you to simply copy your spreadsheet into FamNet. [Copy Records from Spreadsheet] provides this quicker method.
Note: this is a new facility, and parts of it are still under development: you may find errors, or find that you need to be an admin user or a member of the test group.
This is what you do: -
1. Ensure that the table displays all the relevant columns. If necessary, click [Columns] and add some of the hidden columns to the list, or click [Show all Columns]. Don’t worry if the column names are different to those in your spreadsheet, e.g. “Surname” in one and “Family Name” in the other.
2.
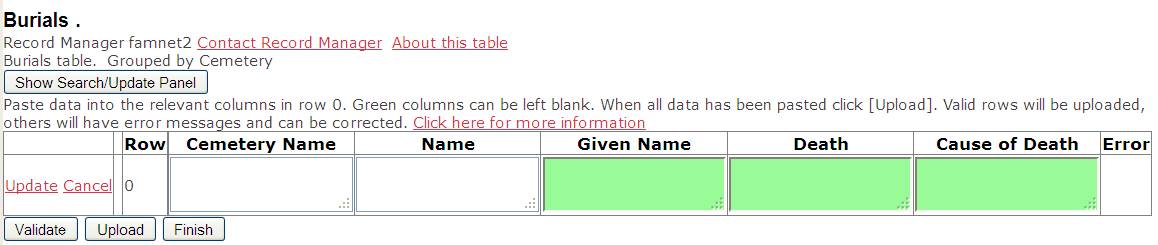
Click the button [Copy Records from Spreadsheet]
to display a grid that you can paste data into. It will be displayed with the
columns that you have chosen: here, for example 5 columns from the Burials
table are displayed
3.
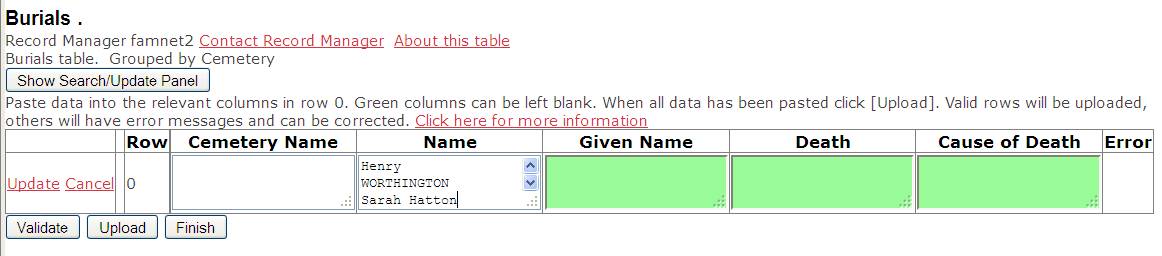
Display your spreadsheet in another window. Copy/paste columns of data from your
spreadsheet to Row 0 of the grid. You can copy each column individually, but if
you have two or more columns in your spreadsheet corresponding to adjacent
columns in the grid view you can copy them together. In this example the spreadsheet contained “Surname”
and “Christian Name” together, so both columns were selected and copied into
the grid’s “Name” column
4.
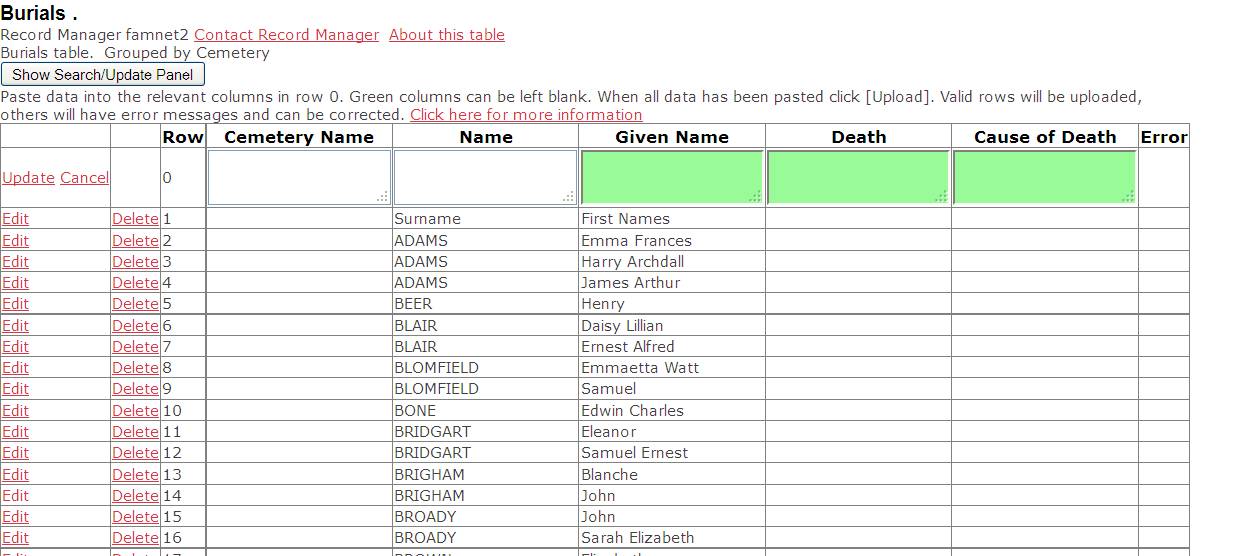
When you click outside this Name cell FamNet
distributes the data into rows and columns
5. Continue adding data from other columns in the spreadsheet until the grid is populated to your satisfaction.
· If you add a longer column then the grid will be extended
· If you add a shorter column then blanks will be left at the bottom.
· If you copy another column of data, the new values will simply replace the old.
· If you enter a single value in row 0 (either by typing it or by copy/paste) then this value will be copied down all rows. For example if you type the cemetery name, all rows will be given this value.
6. When you have finished copy/pasting the data, individual rows can be deleted or edited. At this stage the data are just text: you may have invalid dates, invalid numbers, and other errors
Validate and Upload the Data
Click [Validate] or [Upload] to check that the data is valid for the table definition. For example, numeric fields are numbers, dates, are dates, required fields (not green) have been given values, and so on. If there are problems an error message will appear in the “Error” column, and you can click “edit” to fix that line. You can delete lines that you don’t want, such as the heading line in Row 1 which was copied from the spreadsheet.
Click [Upload] and rows will be checked, and uploaded if they are valid. If you prefer, click [Validate] to perform the same checks but leave all records in the grid.
On [Upload] the valid rows disappear from the grid, but invalid ones remain: -
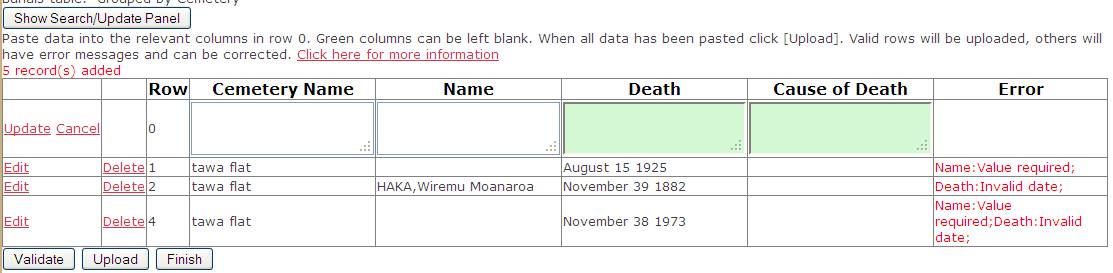
Correct these and click [Upload] again, or else delete them. When you are through click [Finish].