QR
Codes
Changing the URL and Getting Another QR Code
Introduction
What is
a “QR Code”? “QR Code” stands for “Quick
Response Code”, and it is a design like this that represents an Internet
address: -

QR Codes are becoming more and more common. For example, they’re now scattered through every issue of the NZ Herald. The point of a QR code is that somebody with a smart phone – by December 2013 that’s over 54% of mobile phone users – can point their phone at the QR code and click an app (it’s free) to get more information. It may give them more information; it may help them to send a letter to the editor, and so on. Think of clicking on a URL and a page opening.
FamNet has a facility to create QR Codes for any page. When a page is displayed with standard layout, with a range of controls at the left of the page, there is a link “Create QR Code”.
Click this link and a page with the QR code of the page you’ve just come from opens. You can then
· Copy/paste the QR Code into a written family history, so that readers can use the code to see the latest version. Of course you’ll probably copy/paste the actual tree view into the family history as well, but any printed information is a snapshot in time. Perhaps when a later generation comes to read the family history there’ll be some more pictures, or some of the people in the tree have died and so their names are no longer kept private. By copying the QR Code, and also the URL for those who don’t have a smart phone handy, later readers can access the latest information.
· Click a link to one of the engravers. This will send an email to them and you can arrange to have the QR Code engraved on permanent material that you can affix to a headstone or other monumumen so that passers by can find out more than just the name and date that have been chiselled there by the stonemason.
You can use FamNet’s QR Code facility to create a QR Code for any page in FamNet, including individual pages (page view, tree view, timeline view), a list of names, or an individual record in a table (general resource database). You can also use it to create QR Codes to other web pages, such as a page in Cenotaph, or even pages from the general internet having nothing to do with family history. Perhaps you want to have plaques engraved for the plants in your garden: using FamNet’s QR Code page you can create a QR code for your specimen plants, and then send an email to a company who will create a plaque for you.
Printing and Saving a QR Code
The first part of the “Create QR Code” page looks like this, with a copy of the QR Code image, some information about it, and a couple of function buttons: -
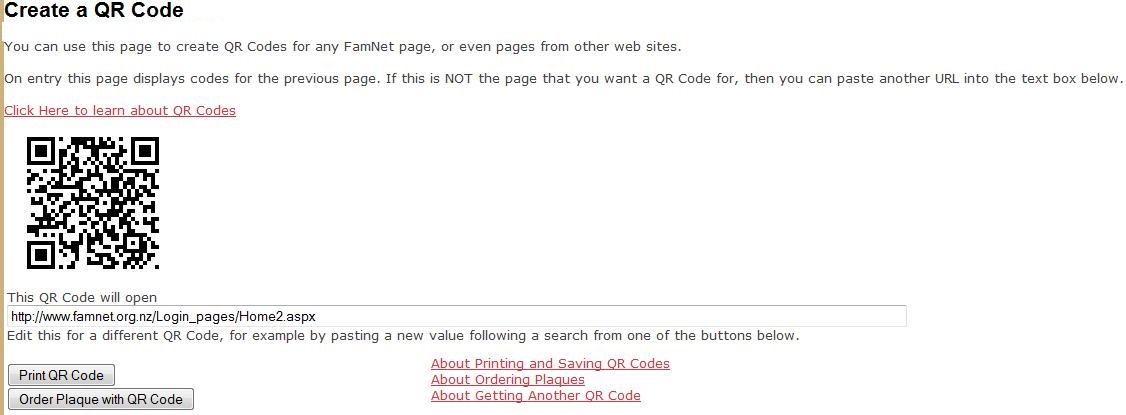
If you click [Print QR Code] the code, plus the URL that it will open, are printed.
To save the QR Code on your own computer (which is what you need to do if you’re planning to use it in a family history publication) you can right-click the image, and your browser will display a dialog like this: -
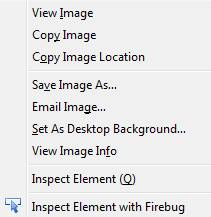
(Details may differ depending on your browser, operating system, etc. This is from Firefox 26.0, using Windows 7).
Select:
- Copy Image puts a copy of the image into the clipboard: you can then paste it into another application (for example a Word document)
- Copy Image Location will copy the image’s URL: this will be something like http://www.famnet.org.nz/UploadedDocs/$ImageURLs/16aa1b26-52e0-46a4-bc17-b63b6c5cc31a.jpg Every time you create a QR Code there will be a new URL like this created, whether or not a QR Code has already been created for this page.
- Save Image starts an explorer dialog and you can select a folder on your computer to store the image. You should use this if you want to save the image to include in a family history document that you’re writing. You should probably rename it: its default name will be something like 16aa1b26-52e0-46a4-bc17-b63b6c5cc31a.jpg
Checking the QR Code
We strongly recommend that you check the QR Code before printing it, saving it, or ordering a plaque using it. Select a Scan QR Code app on your smart phone and read the code: it should refer to the URL and open the web page that you expect.
Order Plaque with QR Code
Click this button and most of the form disappears, and a panel to communicate with suppliers appears: -
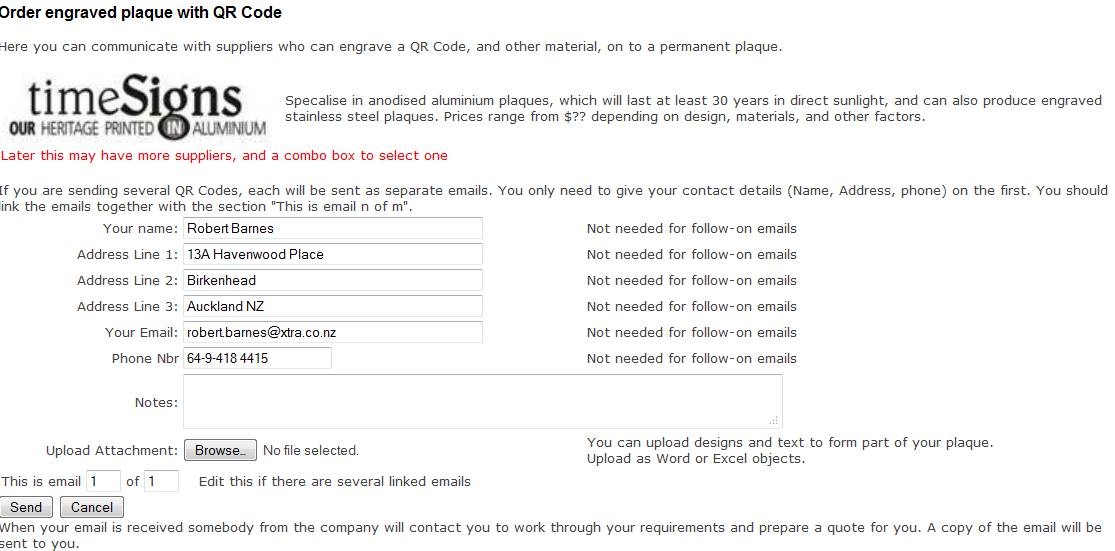
1. At the top of this panel you may choose a supplier. At the moment there is only one choice provided.
2. Next appear several details which you will want to include in your email. Initial values are taken from your FamNet profile: if, like me, you have already entered your name and address to make it easier for others to contact you when the click links like “Contact Record Owner”, then this section won’t need any change.
3. Notes. Here you can write whatever you like: this is text that will be inserted into the email.
4. Upload Attachment. The QR Code graphic will already be attached to your email. You may also want to include other objects – word documents, pictures, etc – that you will want to include in your plaque.
5.
This is email n of m. Each time you use this facility you will send
an email with one QR code, so there may be a series of several emails: you may
be ordering several plaques, or you may want one plaque with several QR Codes.
By editing these two numbers you indicate that there are a series of linked
emails, making it easier for the recipients to know when they have the whole
set.
If there are several emails then you can omit your contact details, but of
course you don’t have to.
6. [Send] will send an email to the supplier, with a copy to you.
Of course this is just a sales enquiry, not a firm order, and you’re just starting a purchase dialog. You have not yet been committed to paying any money.
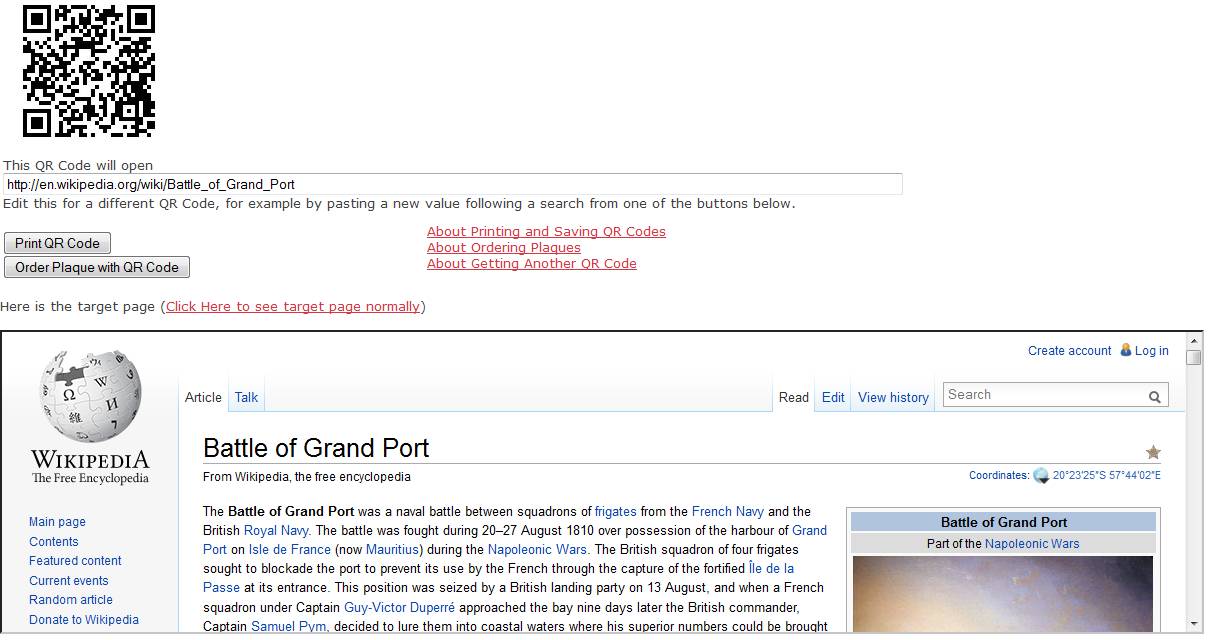
Changing the URL and Getting Another QR Code
Just below the QR Code there is a text box: -

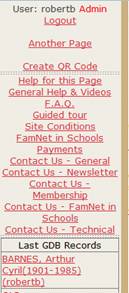
You can edit this by typing, or by pasting another URL into the textbox. To find the URL of the page that you want you might click one of the links from the left to one of your recent GDB records, you might use one of the buttons at the bottom: -
![]()
Alternatively you might open another tab in your browser and do a search with Google, Bing, etc.
1. Locate the page that you want,
2. Select its URL: -
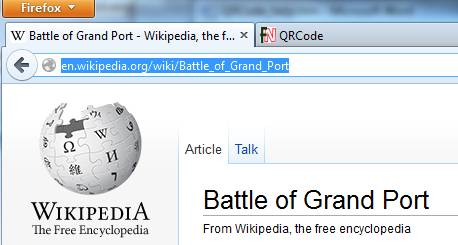
3. Copy this link (<ctrl>C). This puts the URL into the system clipboard on your computer.
4. Return to the QR Code page and paste it (<ctrl>V) into the textbox. When you leave the textbox the QR code and the view of the target page will change: -